
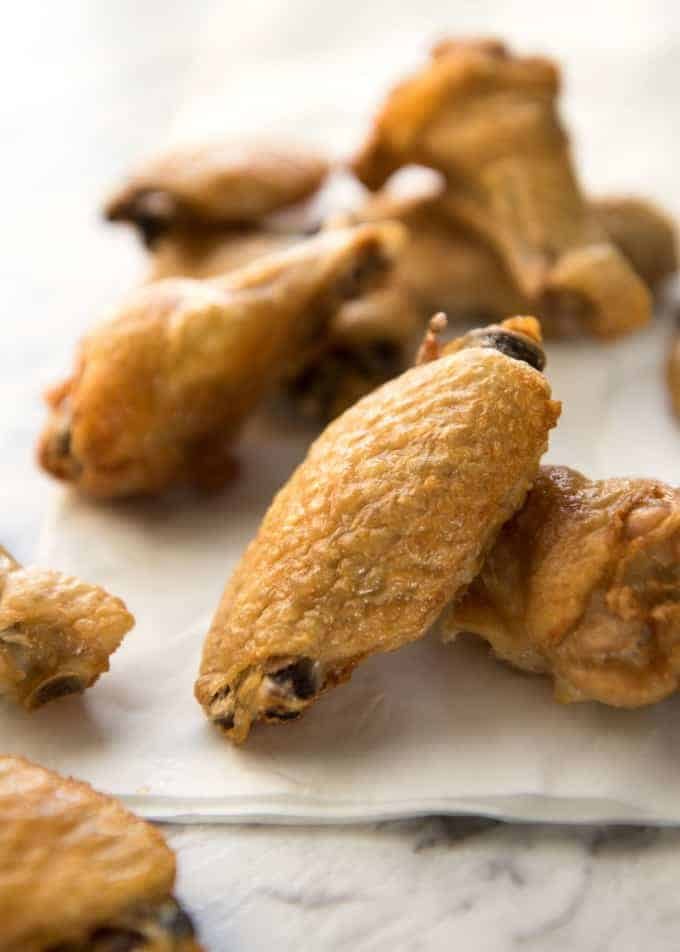
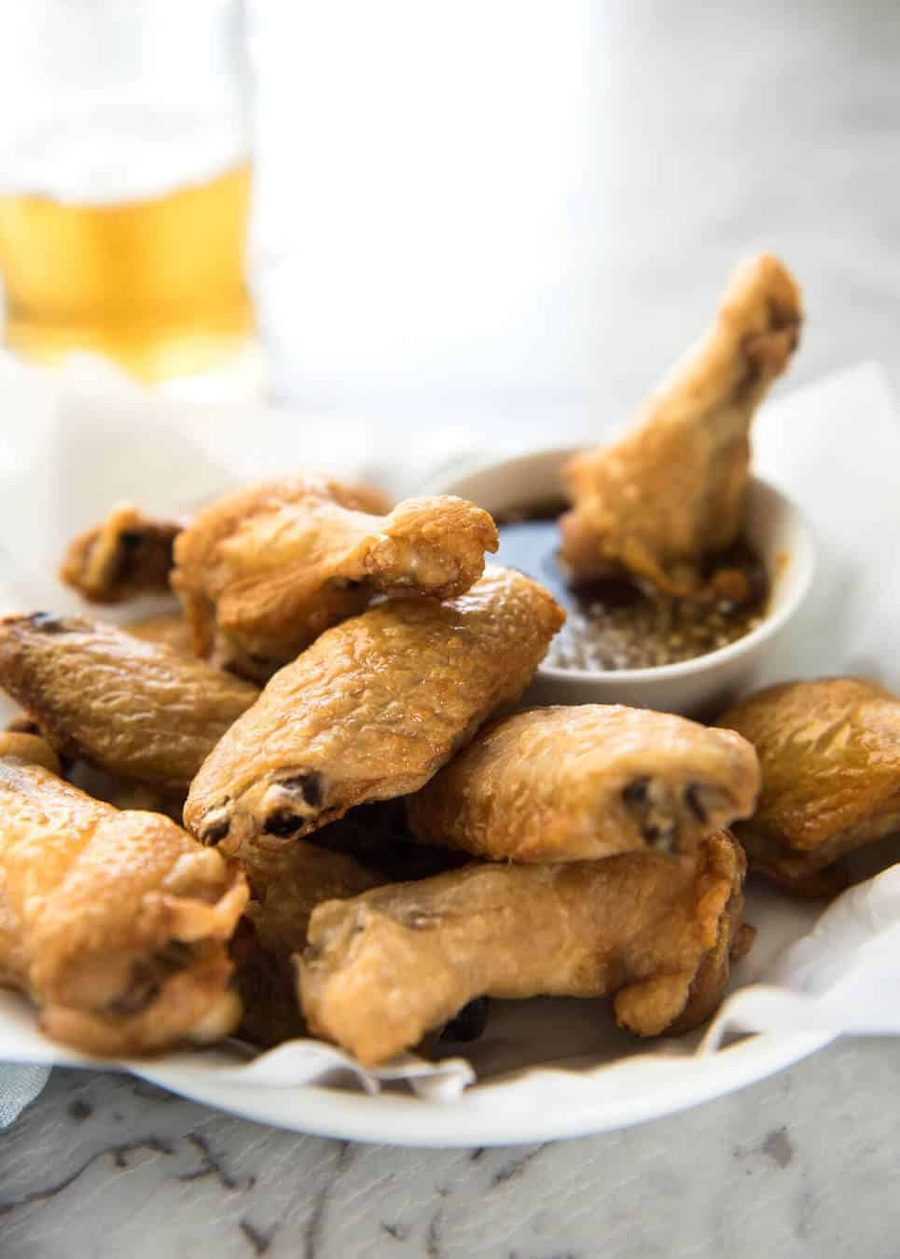
No false promises here – these crispy oven baked wings are SERIOUSLY crispy! You will be gob smacked how easy they are to make. They honestly taste like they’ve been deep fried, with a thin shatteringly crisp golden skin. You can see how easy these are to make and hear how crispy they really are in this cooking video.
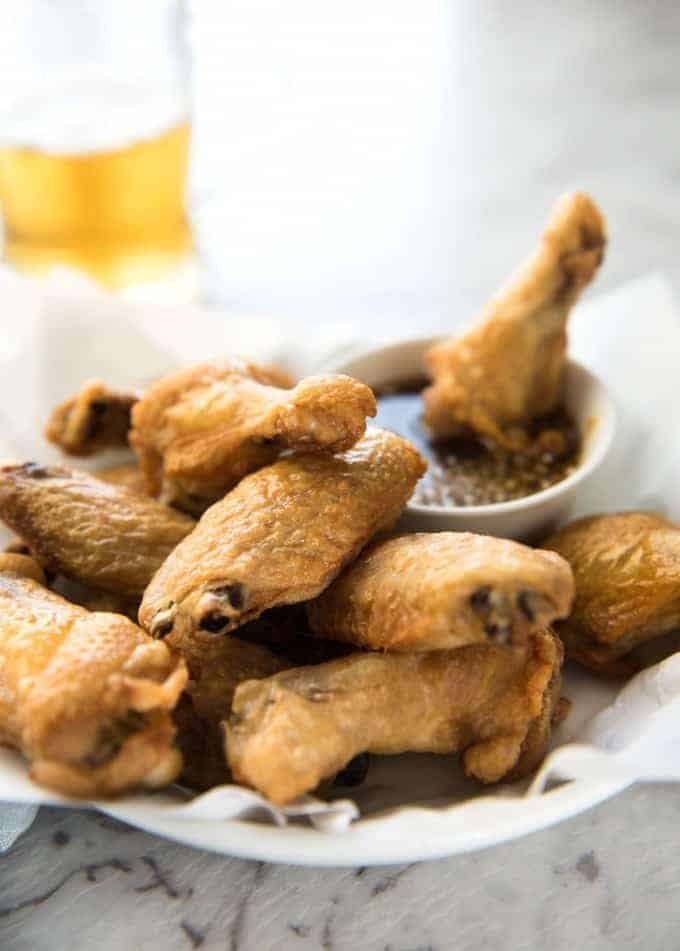
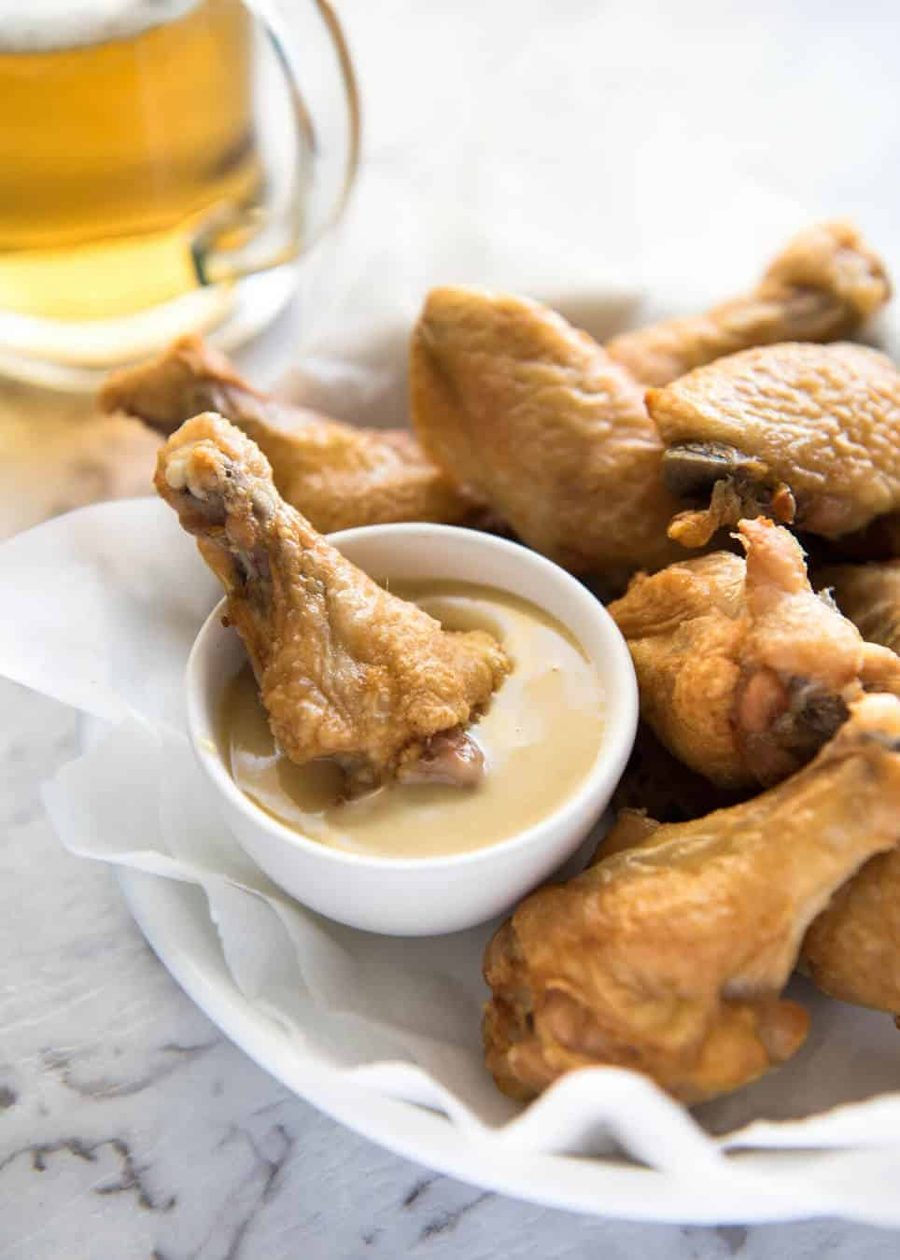
These are so good they can be eaten plain. Or toss them in your favourite sauce, or serve it on the side. I’ve provided a selection of sauces for these crispy baked wings in the recipe below!
Truly crispy oven baked wings
This recipe for how to make Crispy Oven Baked Wings is a discovery by the genius folk over at Cook’s Illustrated. Being the food nerd I am, I really enjoy how Cook’s Illustrated explains the science behind why they do things in a particular way.
And I honestly believe this to be one of their most all time most epic recipes, especially because it’s so insanely EASY!!! And today, I’m sharing the secret with you. Are you ready? 🙂
How to make crispy oven baked wings
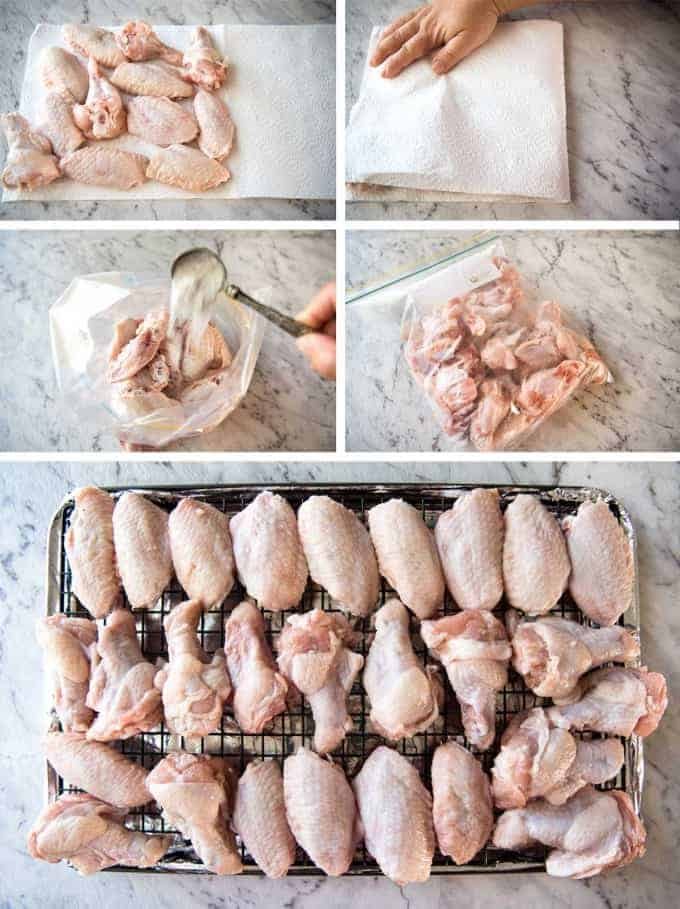
Crispy oven baked wings in 3 easy steps:
Pat wings dry with paper towels;
Toss wings in baking powder and salt;
Bake at 120°C/250°F for 30 minutes, then at 220°C/425°F for 40 – 50 minutes until golden brown and crispy.
Yes, that’s it. That’s all there is to it. 🙂

Why this recipe works
In those 3 simple steps are 2 very important things to make these truly crispy oven baked wings:
1. Coat in baking powder – yes, you read that right, baking powder! I won’t go into all the technicalities, but in a nutshell, the baking powder draws moisture to the surface of the skin so it can evaporate, thereby making the skin crispier; and
2. Bake for 30 minutes on low to melt the fat before blasting in a very hot oven to crisp up the skin. There’s a lot of scientific explanations around this and I’ll skip it because I’ll bore you! But basically, the wings are first baked on the lowest shelf in the oven at a very low temperature for 30 minutes which causes the fat under the skin to “melt”, then you move the wings up to the top shelf and crank up the heat which crisps up the skin.
The other tip is ensuring that the wings are dry. If you are organised enough, put the wings on the rack and refrigerate, uncovered, overnight. However, I neither have the fridge space nor am I organised enough, so I just dry them using paper towels (see photo below for how I do this).
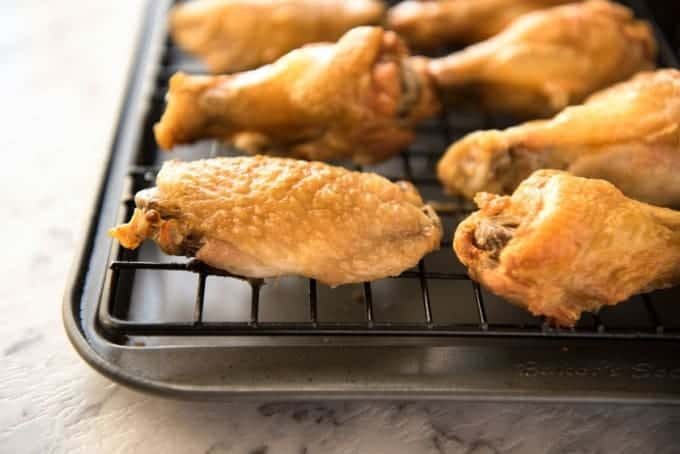
When these come out of the oven and you tap the skin with your nail, you can instantly “hear” how crispy the skin is. They even look like they’ve been fried! And in case you are concerned, you don’t taste baking powder at all.
Got questions? See FAQ under the recipe card.
You will notice that the wings are smaller than you are used to. That’s because so much of the fat under the skin melts off the wings – you’ll see it all pooled on the tray. So these have the added benefit of reduced calories too!
You can toss the wings in your sauce of choice or serve the sauce on the side. I’ve also shared classic Buffalo Wings using this same method for crispy oven baked wings. For this recipe, I’ve included a few simple sauces that I like to serve wings with: Honey Garlic Sauce, Honey Mustard Sauce, Ranch Dipping Sauce.
Let’s get stuck into these wings! – Nagi x
PS I’ve now published the Buffalo Wings version! Here it is: Truly Crispy Oven Baked BUFFALO Wings.
Watch how to make it
Hungry for more? Subscribe to my newsletter and follow along on Facebook, Pinterest and Instagram for all of the latest updates.
Truly Crispy Oven Baked Chicken Wings
Ingredients
Crispy Wings
- 4 lb / 2 kg chicken wings , cut into wingettes and drumettes (Note 1)
- 5 teaspoons baking powder (NOT BAKING SODA / BI-CARB SODA!!)
- 3/4 teaspoon salt
- Oil spray
Instructions
Crispy Wings
- If you are organised enough, uncover the chicken wings and leave them in the fridge for a few hours to dry out. Otherwise, use a paper towel to pat the wings dry.
- Adjust oven racks to upper-middle and lower-middle positions.
- Preheat oven to 250F/120C (all oven types – standard/convection/fan).
- Line a baking tray with foil, then place a rack (like a cooling rack) on the foil. Spray the rack with oil spray.
- Place wings in a large bowl or in a ziplock bag. Add the baking powder and salt, then toss to coat evenly.
- Place the wings on the baking tray in a single layer with the skin side up. They should just fit snugly. They will shrink when they cook because the fat renders out so don’t worry if they look too snug.
- Place wings on the lower middle oven rack and bake for 30 minutes.
- Move wings up to the upper middle rack and increase the oven temperature to 425F/220C. Bake for 40 – 50 minutes, rotating the tray halfway through.
- Remove baking tray from the oven and let it stand for 5 minutes.
- Toss wings in sauce of choice or serve it on the side to dip / drizzle on the wings, then serve.
Recipe Notes:
* Honey Garlic Sauce: Mix together 4 tbsp honey, 2 tbsp soy sauce, 2 tsp white vinegar (or sub with any other vinegar except balsamic), 2-3 garlic cloves, minced. Use for dipping OR tossing.
* Honey Mustard Sauce: 1/4 cup Dijon mustard, 1/4 cup mayonnaise 1/4 cup honey
* Ranch Dipping Sauce: Mix 1/3 cup mayonnaise, 1/3 cup sour cream, 2 tbsp milk, 1 tsp lemon juice, 1/4 tsp EACH dried dill, parsley, chives, onion and garlic powder, salt & pepper to taste.
* Spicy Creamy Dipping Sauce: 3/4 cup mayo, 1/2 tso garlic powder, 1/8 tsp paprika, 3-4 tbsp sriracha, salt & pepper
* Pink Sauce: 1/2 cup mayonnaise, 2 tbsp sweet chilli sauce, 2 tbsp ketchup, 2 tsp garlic powder, 1 tbsp sriracha (or other hot sauce) 7. Nutrition: The nutrition is per serving, assuming 8 servings. Note that the calories is HIGHER than it actually is because so much fat is rendered out (melted) and discarded which is not reflected in the nutrition below. I measured the discarded fat once and calculated that it should be 60 calories LESS per serving (around 1/4 cup fat in total was discarded).
Nutrition Information:
Originally published in November 2014, updated with fresh new photos and step by step photos!
Frequently asked questions
I don’t have a rack. Does this cause a problem? The skin will still be crispy but the bottom of the wings that is in contact with the tray will be oily. This is because the purpose of the rack is to elevate the wings off the tray and allow the chicken fat to drip down.
One way to get around an oily underside is to take the wings out after around 35 minutes during the high temp cooking. Drain the oil out of the tray then return to the oven to finish crisping/browning. You could also drain the excess oil from the wings on paper towels before serving.
Can I make ahead? These stay crispy for as long as the wings are warm, so around 20 – 30 minutes. After that, the skin starts to wrinkle and soften. However, I was shocked how well they reheat! Just allow the wings to cool (uncovered), then cover and refrigerate. Spread wings out on tray, skin side up, and bake for 5 to 8 minutes at 200C/390F. The skin smooths out and puffs up, just like when they were baked fresh. Other than to you (if you’ve made as many wings as me!) and true hard core Wings experts, the difference in juiciness and crispiness is barely noticeable – my friends never notice when I reheat!
The skin stays crispy for around 10 – 15 minutes after tossing in the sauce, then after that they start to soften but not go soggy, up to around 30 minutes. If you reheat after tossing in sauce, they go soggy.
Please do not toss in baking powder then refrigerate or freeze, this won’t work (makes the wings sweat too much to become crispy).
Can I add seasonings? You sure can! It does marginally reduce the actual skin crispiness but a crust forms from the extra seasonings/spices and adds more crunch. I did a lot of testing around this and I can assure you it works really well!
There was a lot of smoke! Help! A few readers have had this problem and I don’t think it’s from the chicken wings because I’ve made a ridiculous amount of these wings (in my kitchen and others) and never had the problem. The problem may be: a) spillage of chicken fat onto the oven burners when transferring from the lower to the upper shelf or b) there already was fat on the oven burners. I can’t think of anything else. While the smoke point of chicken fat is below that of the high oven temperature used in this recipe, the fat is not in direct contact with the heat because it’s shielded by all the wings and diluted by chicken juices dripping into the fat.
You really don’t need to flip? Really! Even if you don’t use a rack, the underside will get crispy.
Can I make this with other cuts of chicken? Yes BUT the crispiness will only work on the skin. So it works best on wings because they are almost fully enclosed by skin. With drumsticks, thighs and skin on breast, they are not fully encased with skin when raw and the skin shrinks while cooking. But the actual technique works super well! For 1 kg / 2 lb drumsticks or other cut of chicken, using 2 tsp of baking powder and 1/4 tsp salt – less than the recipe for wings because there is less skin surface area.
Life of Dozer
No wings for Dozer – cooked chicken bones are dangerous for dogs! How about a Honey Prawn instead??

Absolutely perfect! SO crispy! I served with a blue cheese dip and celery sticks (traditional in North America).
Another 5 Star Nagi recipe!
Awesome recipe! Been using for likely 3 years at this point. I just allow my ancestors to sing to me with the amount of baking powder and salt that I use. Haven’t had an issue yet 🙂 making sure you pat them dry before/ let them sit, game changer
Love your recipes. I am the primary cook in the house and every time I want something different from steak and vegetables I consult Google and then look for your site, thanks so much.
Absolutely the easiest crispy chicken wings. Made 3kg of them yesterday and they turned out great! A friend said they had done them in an air fryer (they were camping and didn’t have an oven) and they were just as successful. Thanks a bunch. PS: Thinking of Dozer 🙂
Absolutely
THE
Best
Wings
Ever!!
I noticed you have some discrepancies in your recipe with regard to the amount of baking powder to use. I see 2 Tbsp, in the video and 5 tsp listed in the actually recipe below the video. Which is it??
2 tbsp = 6 tsp
So its pretty much the same thing, just off by 1 tsp which wont make much difference.
I made these for myself last night. 8 wings, the sauce and the cheese dip !! As I’m not a lover of garlic the amount was cut by about 50%. Delicious doesn’t cover it!!! I used Stilton in the dip and after I’d finished all ten of the celery sticks out came a teaspoon and the rest disappeared too. Fabulous recipe which I will be using many times to come !! Well done, Nagi.
Perfection! Crispy, juicy, tender!
Can you let me know baking powder you used … I made these for my husband and his mouth was burning and became quite unwell… the doctor blamed the baking powder.. are there better brands than others
Hi Jodie,
Not sure where you are based but I’m in Australia. In my home we use either White Mill (Aldi brand), Anchor or McKenzie baking powder brands. 🙂
So crispy but the baking soda left a taste I really wasn’t fond of.
Did you read the what felt like dozens of places in this recipe where it said not to use baking soda?
It says to use baking powder quite explicitly in the instructions, not baking soda.
Sophie. You may have used a baking powder containing aluminum. This can cause an off taste. I believe Rumford and Arm and Hammer have baking powder that is aluminum free.
There is no baking soda in this recipe
Pretty sure I know why. Maybe reread the list of ingredients.
Sophie, you are NOT supposed to use baking soda, use baking powder. I’ve made this recipe many times and they are amazing. Try it again with BP, you will love these wings.
use only “aluminum free” Baking Powder
It’s made VERY clear in the blog and instructions and notes to use baking POWDER and NOT baking SODA!
I’ve made these three times in the past two weeks – they’re phenomenal and better than any restaurant wings I’ve ever had. So far I’ve only done Buffalo sauce and bleu cheese dip. I just noticed the other sauce recipes – looking forward to trying the honey mustard and honey garlic sauces. Yummm!
My hubby found your site & wanted these wings. I’ve made them twice in a week. Awesome!!
This is same as Karaage, Japanese fried chicken, except they use cornflour or some people call it cornstarch for the same reasons as you’re using baking powder, just mentioning it because cornstarch is easier to source in the right quantities in some countries (like France where baking powder comes in tiny sachets).
Several years ago, I downloaded a book of multiple wing recipes you shared. I can’t find it. I don’t remember I it was something I paid for, or if it was just part of a post. I can’t find it in your blog. I’m not even a fan of wings, but after making them, per your baking powder instructions, I was fan!! I still don’t make them often. I would like to make a batch for father days with some other dipping sauces other than Franks. Let me know if that multiple recipe book is still available, please. And, know, I ‘ve been praying for Dozer – dogs, they are our perfect partners. . .
Amazing.
These wings were great. I’m not sure where I went wrong though. The skin was kind of rough and hard to bite into. Should have cooked them longer?
Can I use sweet baby rays buffalo sauce instead? Do I need to add sugar still?
Unfortunately I can really taste the baking powder on the wings with this recipe. (And just in case you’re wondering, I did use baking powder and not baking soda.)
I made these for the first time tonight. I missed the part about cutting them up………should have watched the video but they were still awesome. I live in a country where fried chicken is part of the staple diet. What a great alternative and my local friends loved them
Don’t be me. Read and then reread the instructions. Then don’t still accidentally use baking soda instead of baking powder. I totally read it the other way around and was like “OK, I use baking soda!” 🫠
If you do read correctly though, great job! This is an easy recipe to make a ton of yummy crispy wings!