
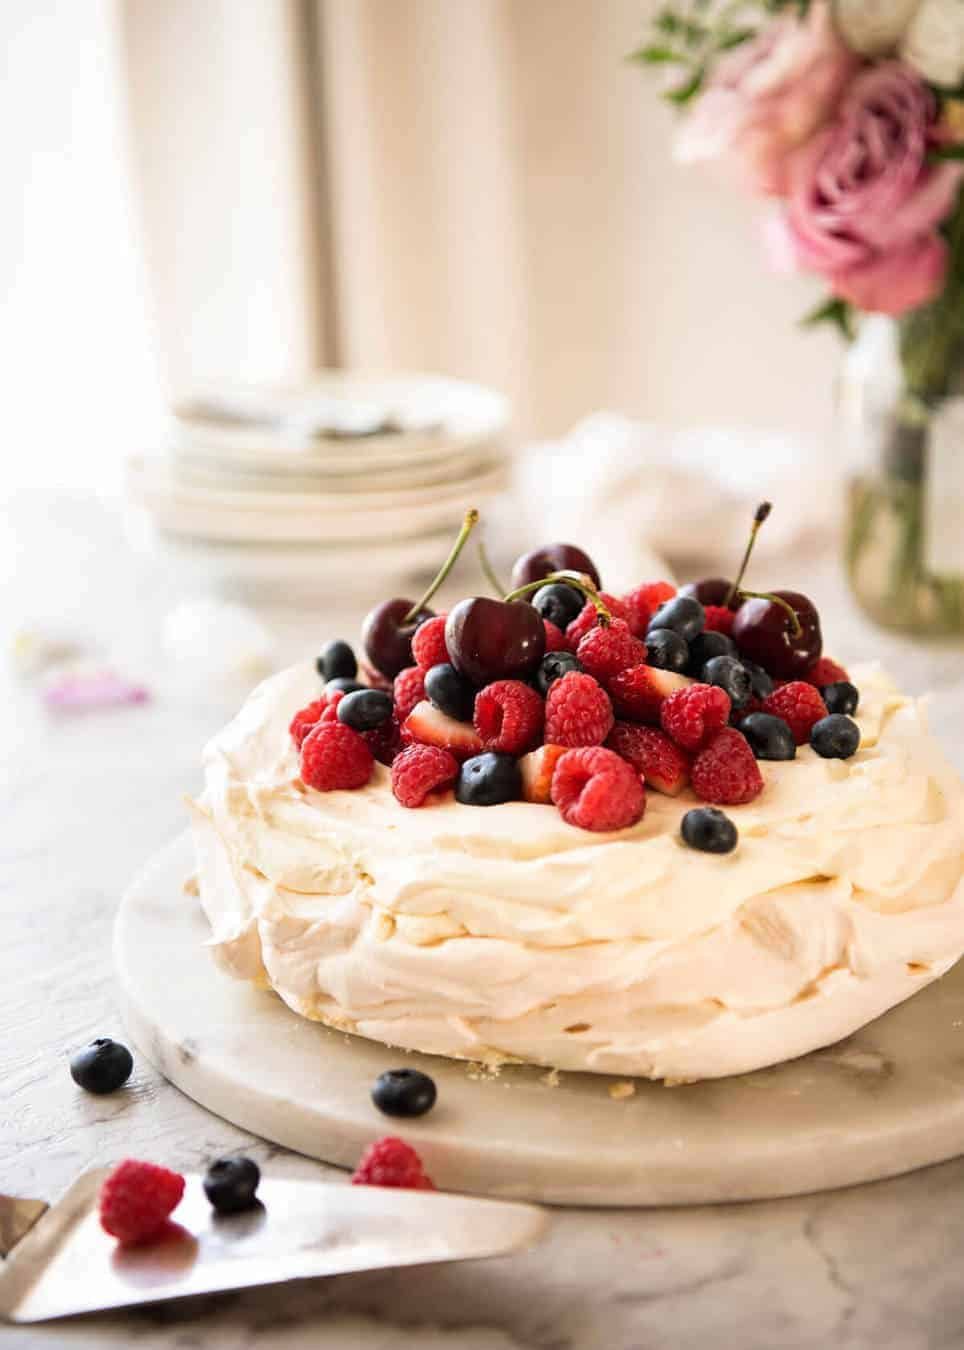
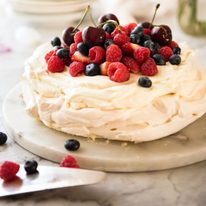
The great Aussie Pavlova! With a how-to video and easy tips that make all the difference, you’ll nail this classic Pavlova recipe every single time. With a delicate meringue crust and soft marshmallow insides, top with cream and fruit for a pav that will steal the show at any gathering!
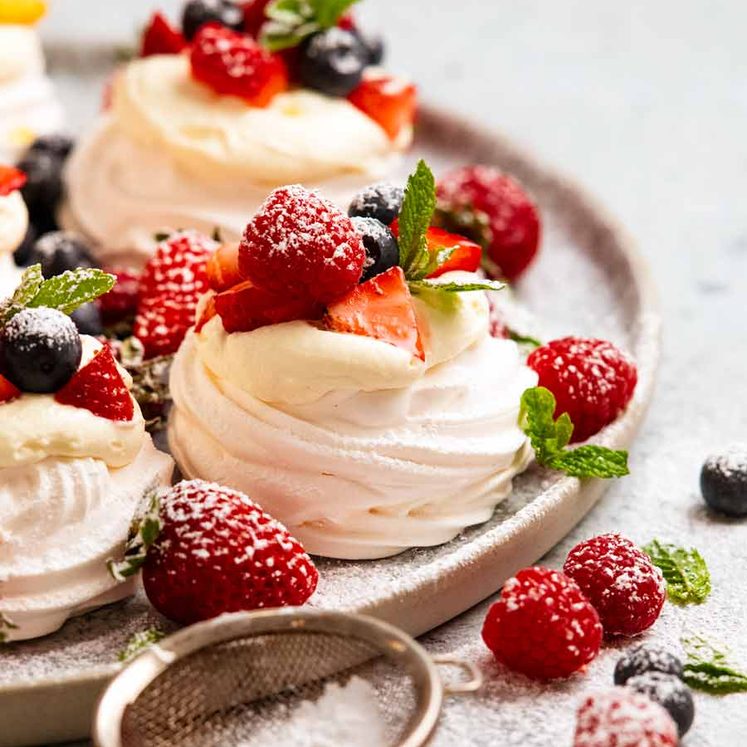
Next time, try Mini Pavs. They’re adorable!
Pavlova
There is no greater summer dessert than the great Aussie Pav!
Pavlova is one of those desserts that is notoriously easy yet notoriously difficult. I think many people are scared to make it. Others have lamented that you should just accept that it will come out of the oven quite cracked.
Though I’m going to be sharing my tips for a perfect near-flawless pav (including a few you may have never heard of before!), first up, let me be clear about one thing – it does not matter if it cracks!! Even if it cracks severely.
Just do your best to piece it back together, using cream as a glue and to hide the worst cracks. It only needs to hold together for you to place it on the table, for everyone to ooh and ah over it, for you to have your moment of glory.
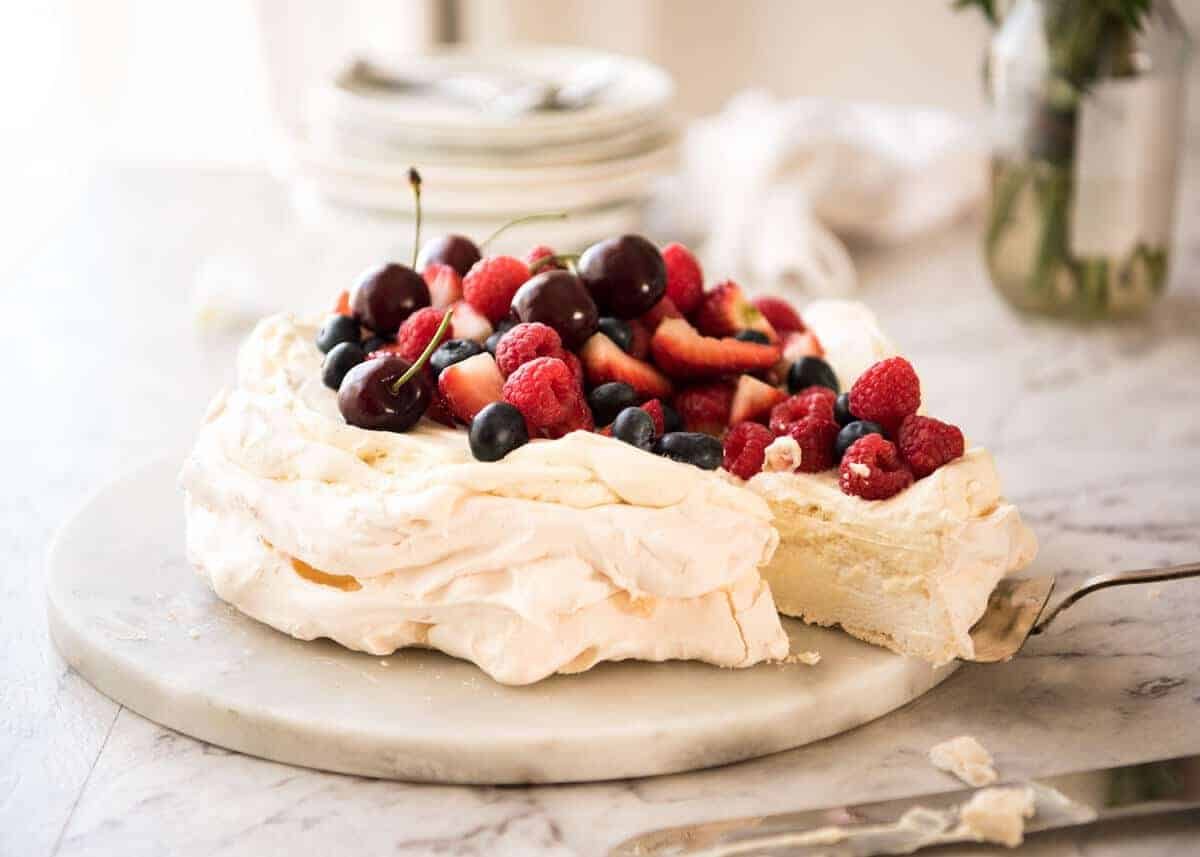
The minute it gets cut to serve it up, it doesn’t matter. Even a perfect pav looks like a mess once it starts being served!
But as it so happens, if you follow my tips, I’m confident you’ll have a crack-less near-flawless Pav… 😉
With the recipe video and my secret tips, this Pavlova recipe is easy to follow and you’ll nail it every single time!
Tips for a perfect pavlova
I’ve seen many “no-fail pavlova” tip lists, but I’ve never seen a list with all of these, mainly because some of them are my own, discovered after many trial and errors!
1. Measure the egg whites by volume. This is a big tip! “4 egg whites” can range from anywhere between 100 – 180ml (3 – 6oz) depending on the size of the eggs + how much egg white you manage to get out of each egg. The amount of egg whites used is key to a successful Pav!
2. Use fresh store bought eggs. Not eggs that have been hiding in the back of your fridge for weeks!
Got your own chickens? I’m jealous! BUT, don’t use freshly laid eggs for pavlova as they take longer to fluff up. Use eggs that are circa 5 days+ old. Store bought eggs are a safe bet. 🙂
3. Separate the eggs while fridge cold. Trust me, it’s so much easier than when they’re at room temperature. PS If you’re new to separating yolks from whites, just crack the eggs into your hand and let the whites slide through between your fingers. Jiggle your hand slightly to get all the whites off the yolk, and you’ll be left with just the yolk sitting in your fingers.
4. Not even a drop of yolk is allowed! Even a bit of yolk can ruin the whole batch i.e. it won’t fluff up. So if you accidentally get yolk in your whites, you can try scooping it out using a shell (also good tip for picking out shell bits) but if you think there’s any chance it has tainted the rest of the whites, start again. It isn’t worth the risk!
5. Bring egg whites to room temperature. They fluff up much better. So separate while cold, then bring to room temperature.
6. Make sure your bowls and whisk are clean and dry. Grease and water can stop whites from fluffing.
7. Use an inverted cake pan. For shaping (saves you drawing a circle on paper) and also ease of transferring the Pav to a platter. There is nothing sadder than pulling a perfect Pav out of the oven, only to have it crack when transferring it to the serving platter!
Tips continued below photo….you didn’t think I was done, did you? 😉
8. WEATHER WARNING!!! Heat and humidity. As it happens, Pav is a summer dessert but it is not conducive to being made in hot humid weather. It can cause the Pav to collapse during or after baking. I don’t know the exact temperatures and humidity % cut off points and had a number of epic failures before I figure out tips #9 – #13. Using the tips below, the Pav in the photos were made last week during a heat wave when it was 33C/91F and humidity was 65 – 75%. So if it is hot and humid where you are, do not skip #8 onwards, they were created especially for the Aussie summer!!!
9. Bigger is better….except in summer 😎 I know, I know. You want to do a giant pav. But honestly, for the sake of a Pav that doesn’t collapse on you, stick with 4 eggs. I can’t stress that enough. I’m speaking from experience here, having tried a few 6 egg pavs a few weeks ago. A 4 egg Pav will serve 8 -10 easily. 4 eggs doesn’t sound like much, but this expands. Any larger, and the risk of severe cracking is really high. At least, in hot humid weather. You can do giant Pavs in cooler months!
10. Don’t make it too tall. The taller the Pav, the greater the risk of collapse / severe cracking. In summer, I wouldn’t go higher than 5cm/2″. It will expand to about 7cm / 2.7″. You can do your taller Pavs in cooler months. 🙂
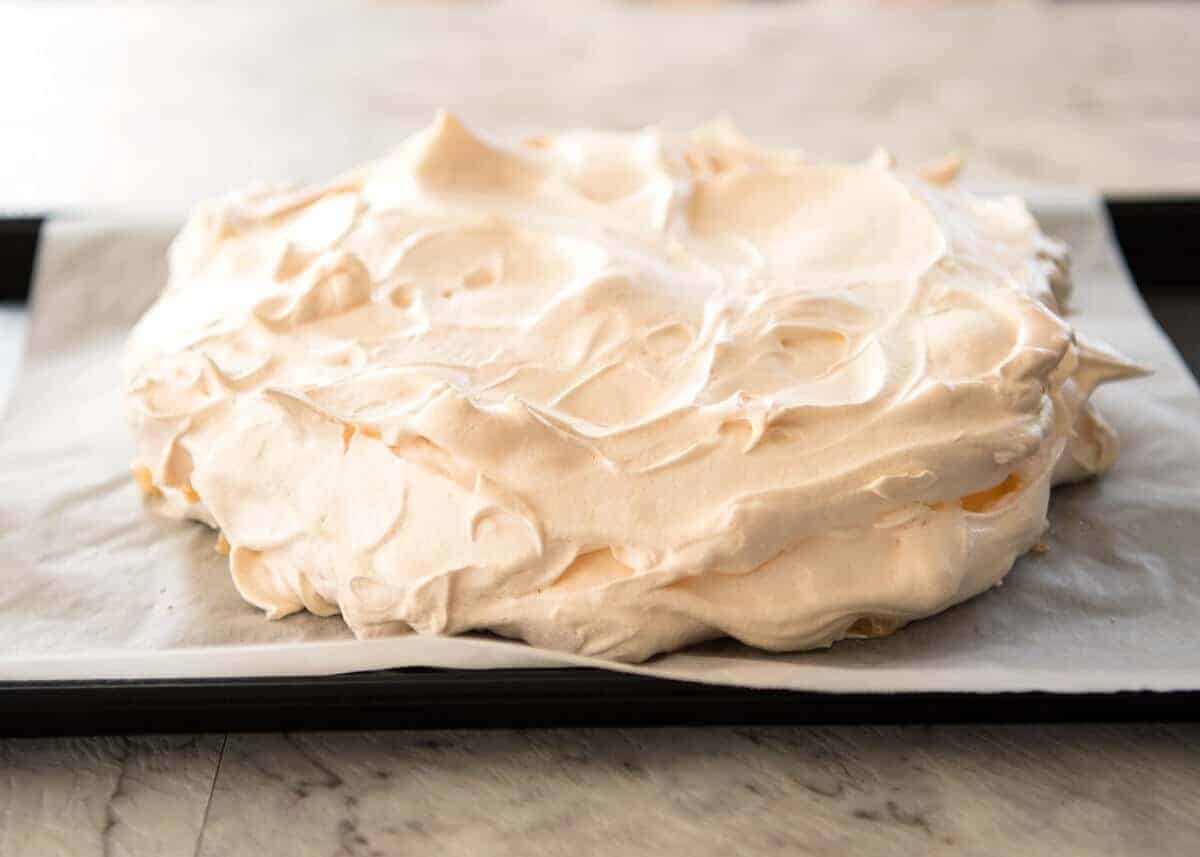
11. Make the edges sloped / dome like shape. Yes, a perfect cake-like shaped Pav with vertical smooth edges is pretty. But it’s also the most fragile shape. The shape of my Pav, almost like a dome but with a flat top, is the safest. Having the rugged surface also helps provide stability I find. (Really hoping an engineer reading this can explain why this is so in simple English, this is beyond my capabilities. I just know they are much more stable shaped like this!)
12. Preheat oven to a high temp, then turn down. The initial high temp really helps to get that crust kick started to stabilise the meringue.
13. Bake on a very low temp for longer – This keeps your Pav nice and white (so pretteee!). I bake mine at 100C /210f (fan/convection) or 115C / 240F (standard). Also baking for longer at a lower temp again helps with stability (higher temp can cause Pav to puff too fast which then collapses later).
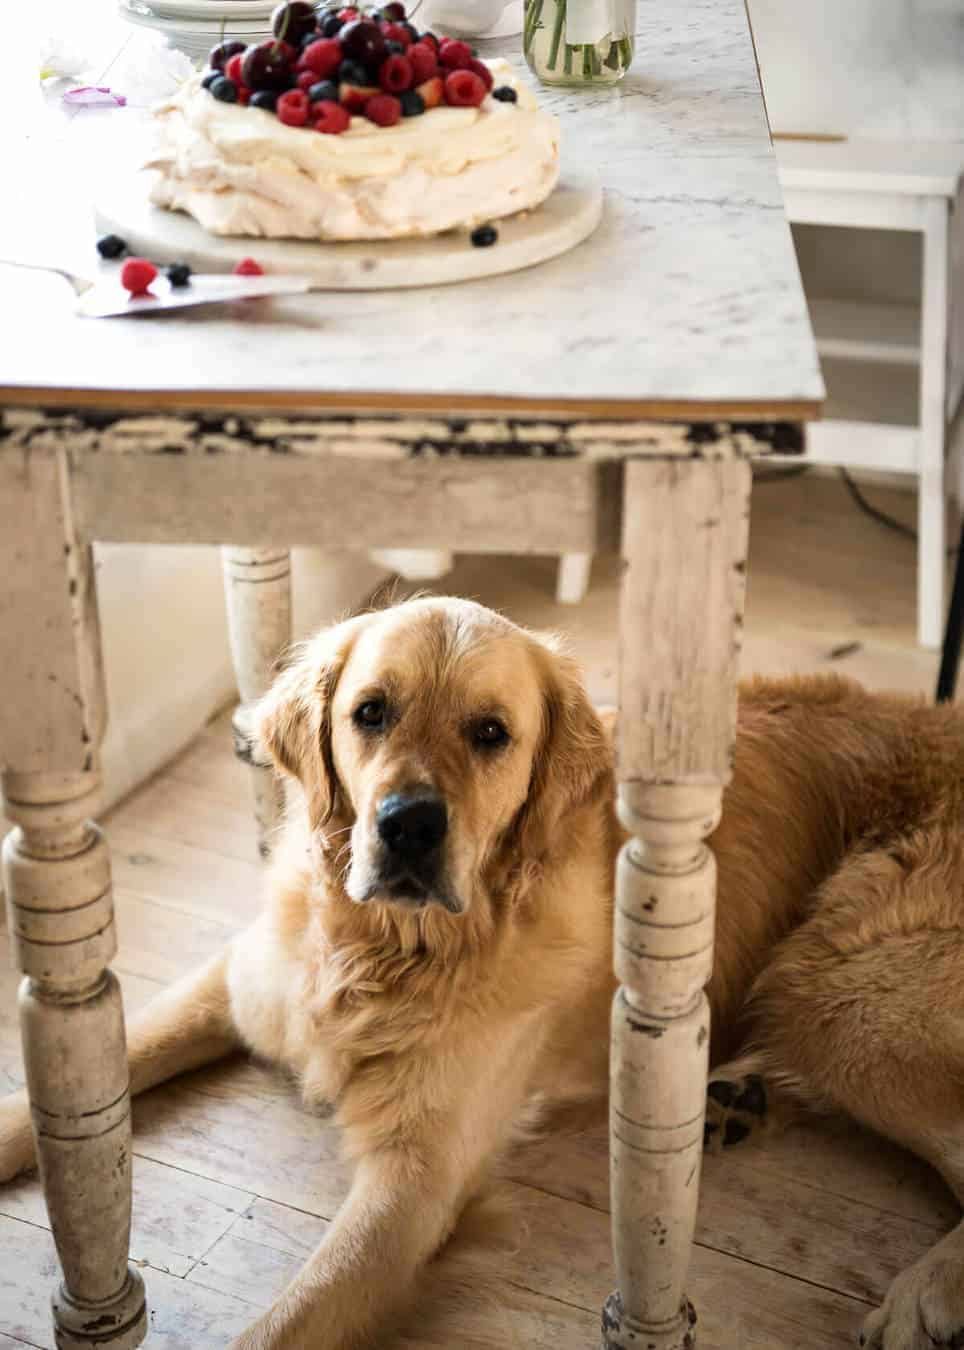
14. No peeking and no thundering through the kitchen!! Seriously, I am NOT joking. Peeking = loss of heat / door slamming = collapsed Pav. Thundering through kitchen with timber floors (I’m glaring at a certain giant fur ball as I write that) = collapsed Pav.
15. Leave in oven overnight. Or all day. Letting it cool down gradually = less cracking risk. Also in summer, especially on hot humid days, where better to leave the Pav than in a sealed almost-airtight oven?
16. BE GENTLE when topping the Pav! Hanging my head in shame. I once tipped a bowl of strawberries on a Pav and watched in dismay as it sank. Place the topping on gently by hand.
17. Make extra cream. No, not for serving. To use as glue / disguise cracks / in case it sinks. Remember the beauty of the Pav – even in a severely destroyed state, it can still be made to look pretty with cream and fruit!
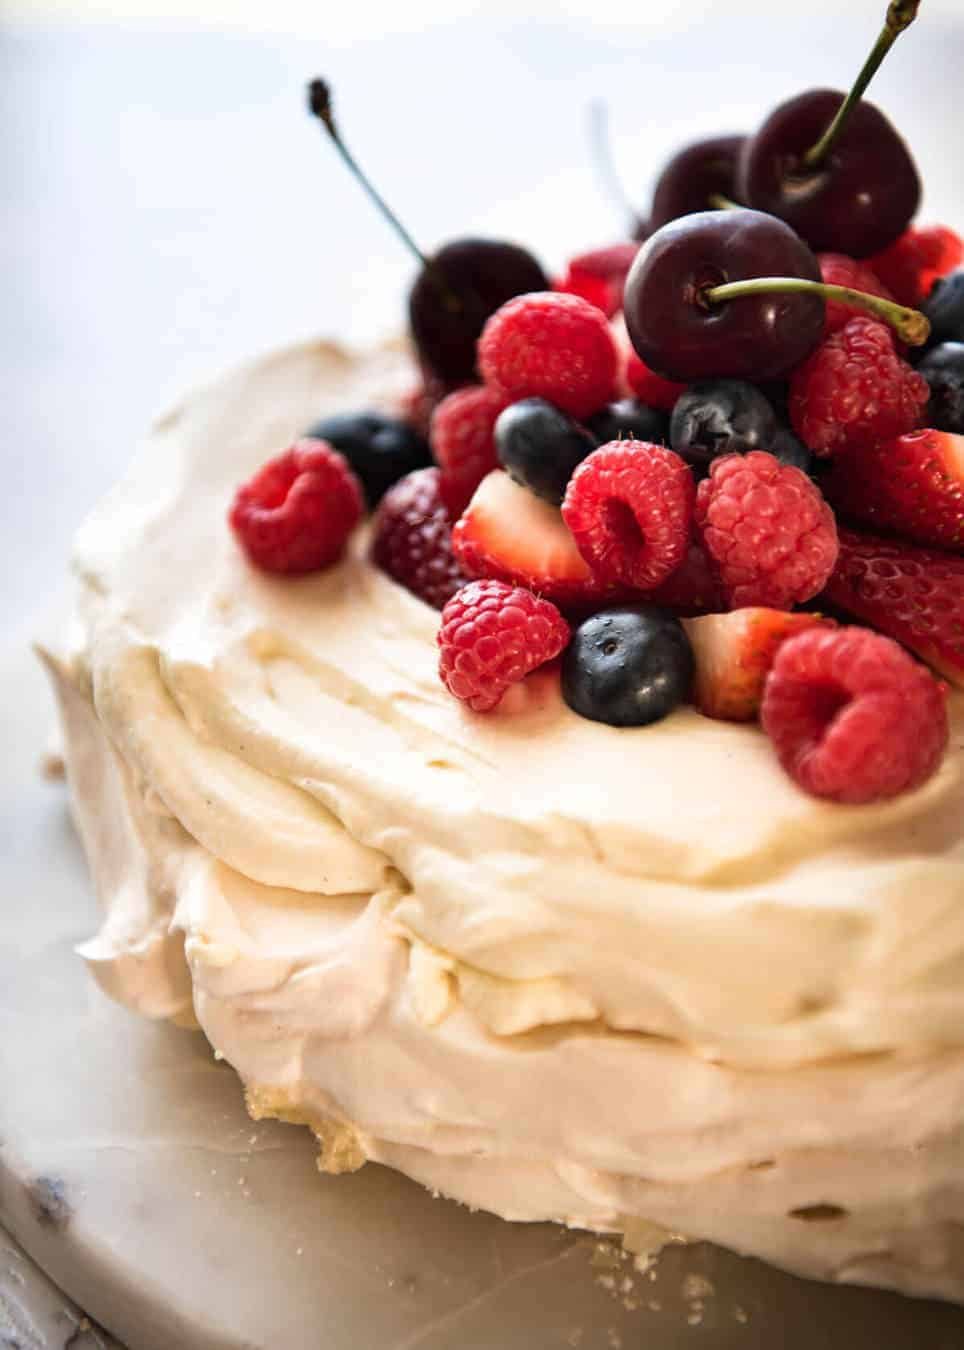
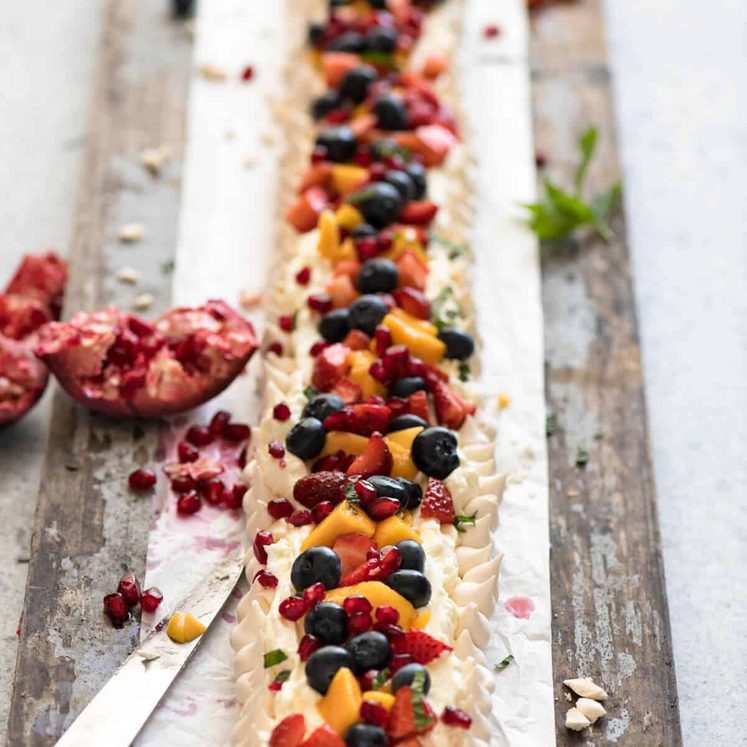
Follow those tips for my Pavlova recipe, and this is what will come out of the oven even on a 33C/91F day – a near perfect Pav. 🙌🏼
Top with cream and berries, or whatever fruit you want! I totally forgot to put passionfruit on this. I do feel like passionfruit and Pav is just quintessentially Aussie!
And that moment when you place if on the table, when everyone oohs and aaahs over the beautiful Pav…lap it up. You totally deserve it. 😉
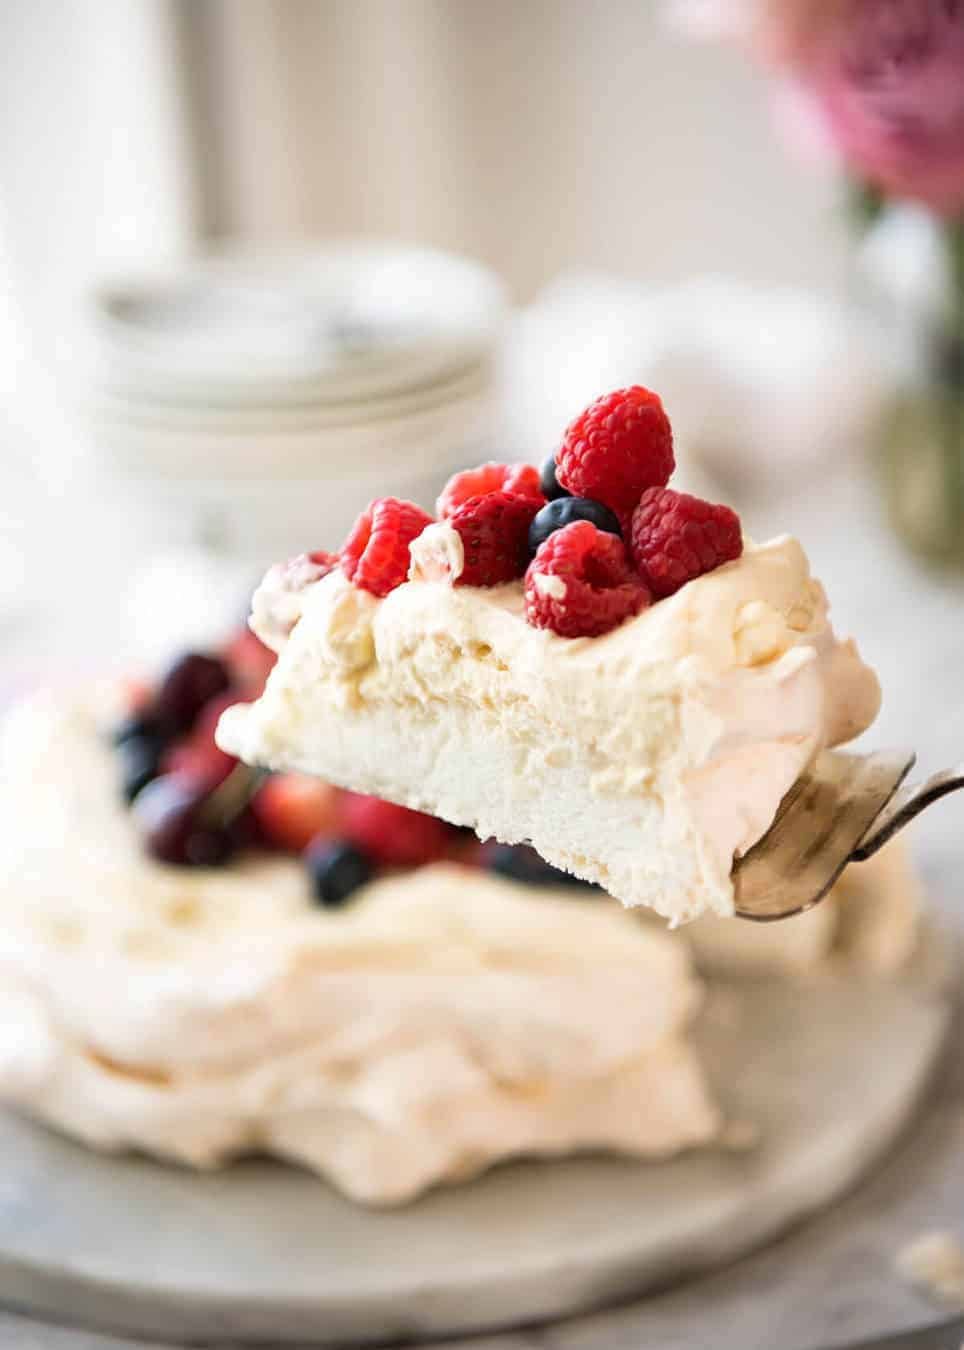
Marshmallow on the inside. The softest most delicate meringue on the outside. Smothered in softly whipped cream and piled high with fruit… I truly cannot think of a great Aussie summer dessert. – Nagi x
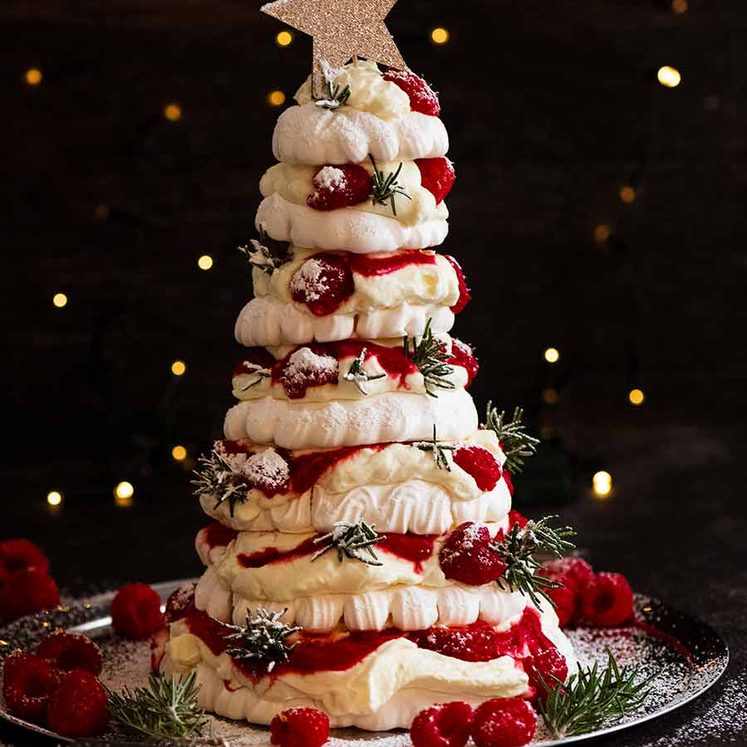
PS. If it’s Christmas time however, you can take Pavlova to a whole new level – literally – with my showstopper Pavlova Christmas Tree! Or, serve up a platter of adorable Mini Pavlovas!
I love pav.
See?
Watch how to make it
Pavlova recipe video! Excuse the lighting and colour balance, it’s all over the place because it was filmed over a couple of days. 😇
Hungry for more? Subscribe to my newsletter and follow along on Facebook, Pinterest and Instagram for all of the latest updates.
Pavlova!!
Ingredients
- 150 ml / 5 oz egg whites (4-5 eggs fridge cold eggs) (Note 1)
- 1 cup caster sugar (superfine sugar)
- 1 tbsp cornflour / cornstarch, sifted
- 1 tsp white vinegar
Cream
- 1 1/2 cups thickened cream / heavy cream (any whipping cream)
- 1/4 cup caster sugar (superfine sugar)
- 1 tsp vanilla extract or essence
Topping
- Fruit of choice. I used: raspberries, blueberries, strawberries and cherries.
Instructions
- Separate the whites and yolks while eggs are cold. Measure 150 ml/5oz egg whites (just shy of 2/3 cup, 140 – 160ml is ok).
- Set whites aside to come to room temperature.
- Preheat oven to 170°C/340°F (180°C fan-forced).
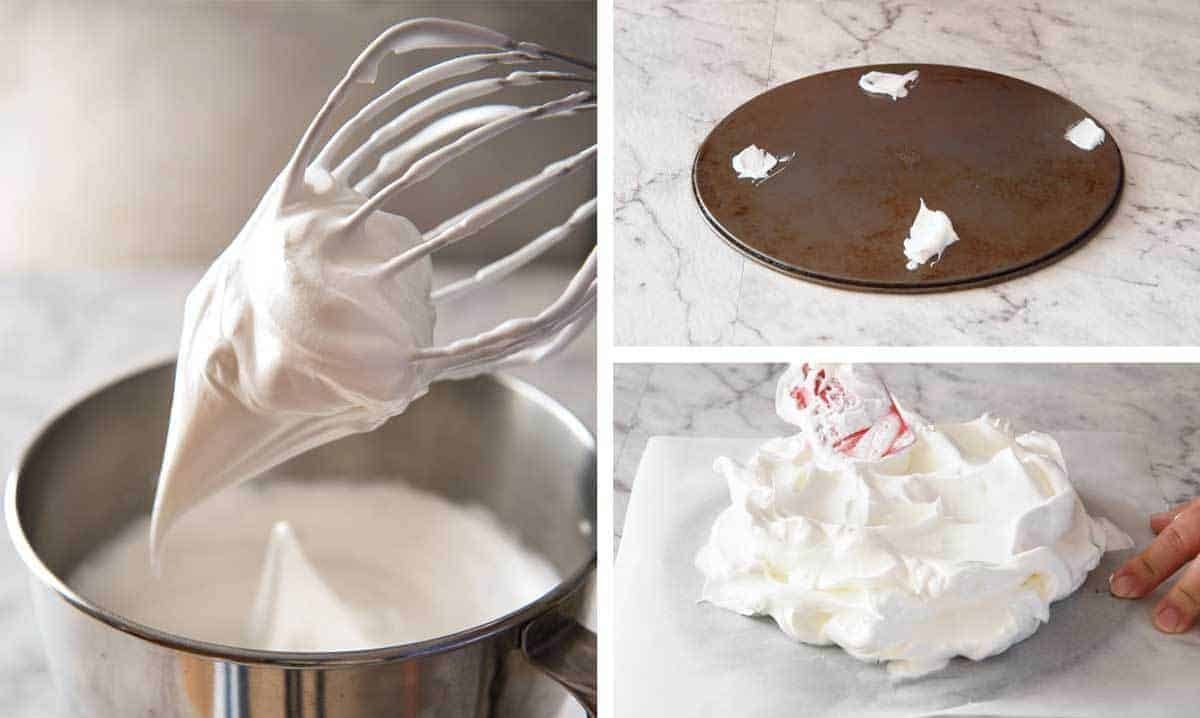
- Place whites in a bowl. Use a stand mixer (I use speed 7) or handheld beater (high) and beat until soft peaks form (Note 2)
- Add sugar 1 tbsp at a time, beating as you go. (Note 3)
- After adding the sugar, beat for a further 3 minutes or until thick and glossy. Rub a little of the fluff between your fingers, there should be no sugar grit – that means it is ready.
- Add cornflour and vinegar, beat on low for 5 – 7 seconds (or fold through with spatula) until just mixed through.
Making the Pav (Note 4)
- Get the base of a springform cake pan (24cm/9.5″ or larger) and turn it upside down. Dab meringue on the edge and place a piece of baking paper (parchment paper) on top.
- Gently place half the fluff onto the paper. Use the cake pan as a guide to make it round and coax it into a circle shape around 20cm / 8″ in diameter (Note 5).
- Carefully scoop out the remaining fluff. Now coax it into a dome shape (not a cake with straight smooth sides) with edges sloping in slightly. Flatten top. Make it 4-5cm / 2 ” high – not much higher. (Note 5). See video / photos in post. It will rise/expand.
- Transfer to baking tray. CAREFULLY place in the oven, GENTLY close the door and turn oven DOWN to 115°C/240°F (100°C fan).
- Bake for 1 1/2 hours – no peeking, no thundering through kitchen! (Note 6)
- Turn oven off, leave the door closed and leave Pav in the oven overnight to cool (I’ve done 18 hours).
- Transfer Pav to serving platter then slide cake pan out from underneath. Use butter knife if required to loosen edges from paper, then slide paper out from underneath.
- Just before serving, top with cream and fruit of choice.
- Serve and be a rock star!
Topping
- Place cream, sugar and vanilla in a bowl. Beat cream until it is thickened and just holds its shape – don’t overbeat, it should be silky smooth, not speckled with bubbles and stiff.
Recipe Notes:
Nutrition Information:
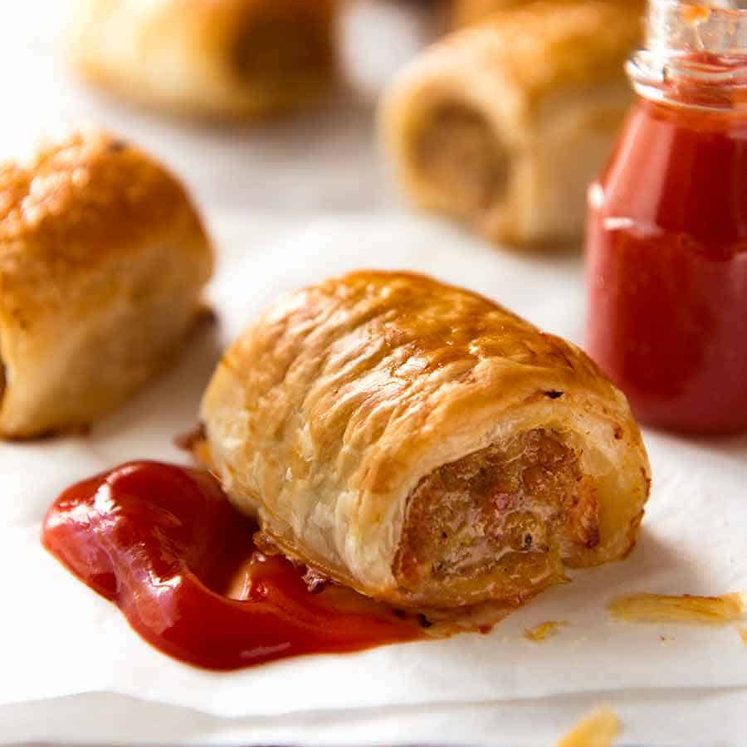
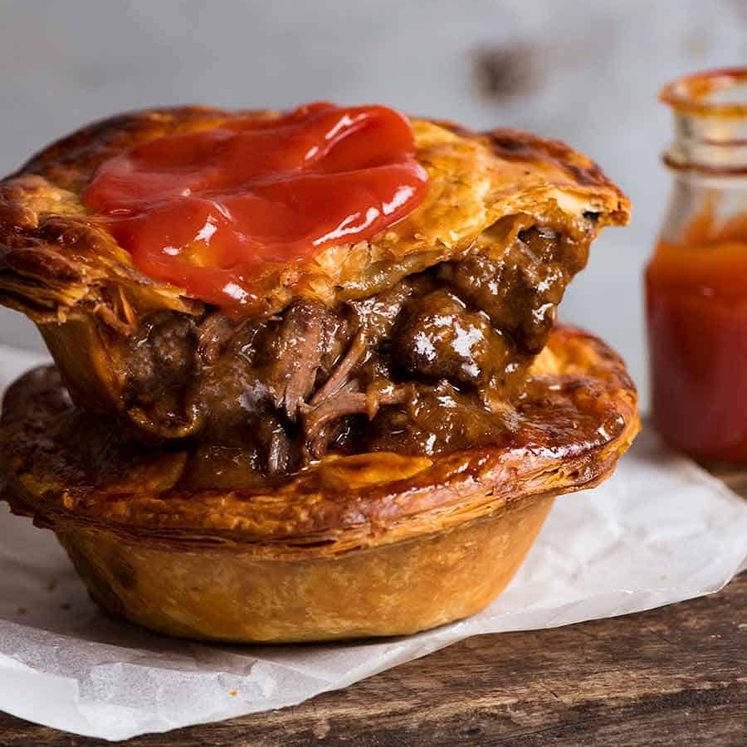
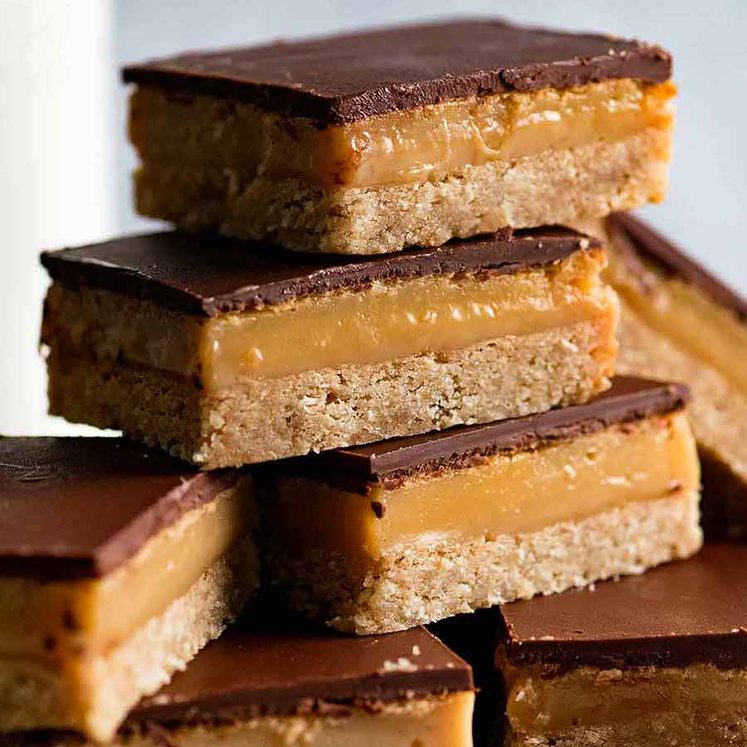
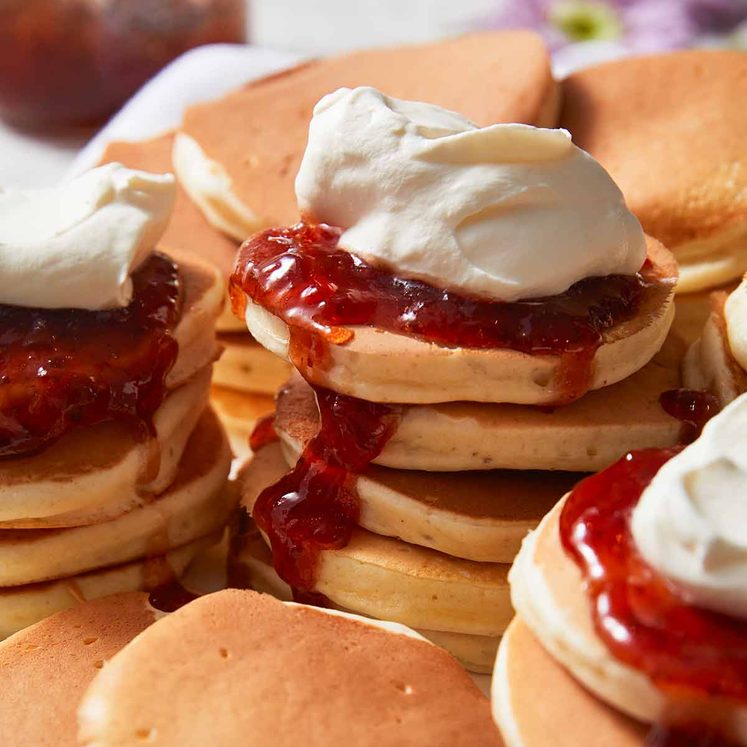
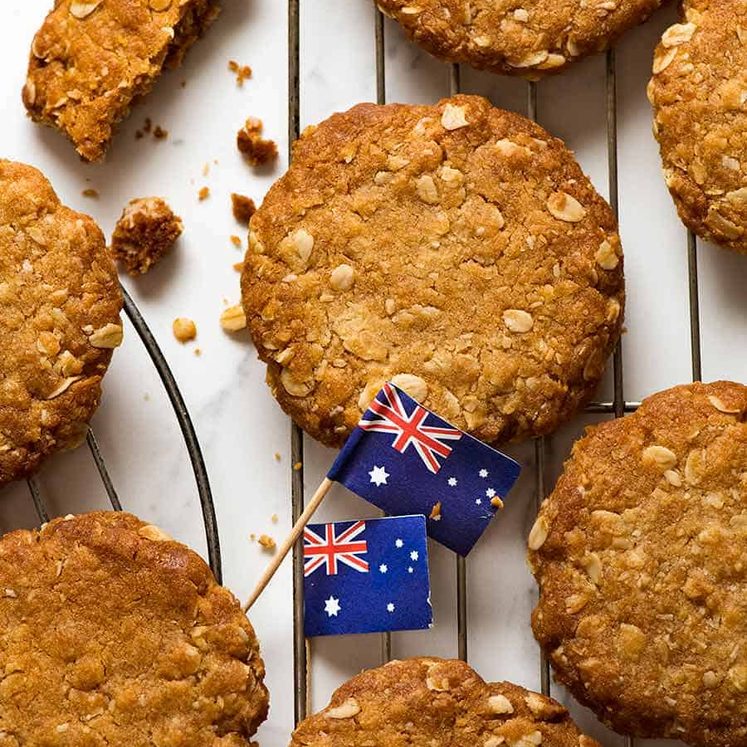
More Aussie favourites
LIFE OF DOZER
Waiting for the Pav to fall on the ground….
This was super easy and the best pavlova! I only read the cooling overnight on the morning of making so mine sat in a cracked off oven for around 2 hours and was fine. Will try overnight next time for top results!
I made this pav for Australia Day 2022, and it was a huge hit.
Best recipe I’ve tried and I’ve made lots of pavs.
I like the way the egg whites are measured in mls rather than qty.
I followed the recipe to a T, only adding a half teaspoon of vanilla essence.
I left it overnight as per the instructions and it was crisp on the outside and fluffy and delicious on the inside, so good.
Will be my go to recipe from now on.
Thanks for a great recipe.
Hi,
Just because you are in Australia I wanted to check something. Our standard ‘cup’ sizes here are 250ml. However for this recipe you say ‘1 cup / 220g caster sugar’. Could I just confirm which amount I should be using for this recipe?
Thanks
Bec
Yes one cup is 250 mL, but ml does not convert to grams, eg: how 250 ml of steal isn’t going equal 250 g, and the same is for sugar. Hope this helps you 🙂
If I increase the serving number for more ppl, is there a way to work out how long to cook it for?
The last time it was almost there just not cooked in the middle.
Thanks
Do you have a dessert recipe i can use up broken pav in?
Oops…did you drop one??!! Make Eton Mess!! I don’t have a recipe on my site but if you make the whipped cream and berry coulis from my pav Christmas tree then you can layer it up (pav/berries/cream/coulis) in a big, pretty glass bowl or individual serving glasses or parfaits and it’s delicious!! N x Link here: https://salesdock.info/pavlova-christmas-tree-dessert/#wprm-recipe-container-55434%3C/a%3E%3C/p%3E
Many thanks for your help
I just want to say a big “thank you,” every tip you provided made a big difference to the Pavlova. Everyone loved it and it was a no fuss easy to follow recipe. Bravo Nagixxx
I have made a lot of pavlovas in my time but after following all your tips, this was hands down the best one I have ever made. Another brilliant recipe!
I have made Pavalova before, your tips were such a help, my pavalova didn’t crack it was perfect ..best one I have ever made.
Wow. This was the best dessert ever. I have really fussy hard-to-please in laws and I made this for new year eve and actually got “the nod” from them!!! It was so sooo goood!!! To be honest, each time they are pleased with anything I prepare, it comes from your recipe website. I actually got married without knowing how to cook a thing and learned everything from scratch from you. I can now confidently host buffet dinners thanks to you. Really grateful for that. Happy new year Naggi. Much love from Maldives ❤️
Wow!! Fantastic dessert! I wanted to upload a picture so bad… it was so beautiful. And delicious! Best tips for success right here in this recipe.
Thank you Em! So glad it was a success! N x
Perfect everytime! Thank you Nagi….your recipes are fool-proof.
I’ve never had Pavlolva nor made one, but I followed your instructions exactly and it came out a showcase! We had it with Christmas dinner. Your guidance was perfect! thank you. A new fan from Canada.
Wow good effort! 😁 a very very common topping we Aussies use is passionfruit syrup (they sell it in a small tin, it’s basically just the pulp with seeds included). For me it’s just not a pav without it lol!
You pour it over the top once you’ve topped it with all your other fruit.
Another recipe that’s just worked perfectly! I can confirm that you humidity tricks work a charm and I’m talking Darwin, wet season humidity, not just any old Aussie humidity.
Thanks for this awesome pav!
Hi Nagi, this was absolutely delicious! Thank you! Your recipes have never let me down and I pretty much never have questions as you always answered them already. This time though I can’t see the answer.. my family like a pav with more crust/less soft marshmallow. To achieve this, would I keep the same size/height and cook for a bit longer or would I make the shape larger and flatter? Thanks!
It’s a hit! Excellent recipe, I have found Pav tricky but absolutely nailed it with these tips. Thank you !
Could I substitute white vinegar for apple cider vinegar? 🙂
Hi, oops doubled mixture now have some beading. Still in oven. Bc too much mixture & probs sugar not dissolved completely. Will it still be edible?! 🙃 thank you!
Second time I’ve made this. It’s so easy and fail proof. An age old debate NZ v AUS. First recipe for pavlova was published in NZ in the 1920s. AUS didn’t publish a recipe until 1940.
Hi Nagi, I’m hoping to make a small pav and was wondering if you’d adjust the cooking time if I half the recipe?
Thanks for all your great recipes!! Merry Christmas 🎄
Hi there, i was a bit confused by “making the pav” step one. Is the dabbing the merigne on the edge of the upside down springbase foam to hold the paper to the base? And i’m assuming the base stays upside down when it goes in the oven and is it staying on the base and onto a normal baking tray, without the outside of the springbase pan? I’ve never made a pav before and i just couldn;t wrap my head aroud that part!
Watch the video Emma! That always helps to see how I do it! N x
Thank you so much, makes perfect sense!
Just put it in the oven and realised I forgot the corn flour and vinegar 🤦🏻♀️ Keep your fingers crossed for a Christmas miracle
I have committed many Pavlova sins today. No cornflower, no vinegar and only left it in the oven for a few hours after to cool. The Pavlova still turned out perfectly. Still the best pav I’ve ever made. I can’t wait to make it properly 😂
Whew! I made pav yesterday as well – so glad yours turned out! N x